The KidTrax Cat Quad is a popular ride-on toy that runs on a 6 V battery, but it may not provide enough power for some kids. Upgrading to a 12 V battery can improve speed and performance. But is it possible to upgrade? If yes, then how to deal with a 12 V battery upgrade for KidTax cat Quad?
Gather the essential tools and materials, remove the old battery, and disconnect it. Once disconnected, install a new 12V battery, secure it, and test; if it is okay, protect the wiring, put back the seat, and enjoy a fast ride for your kids.
However, you need more information to complete the 12V battery upgrade efficiently. Here I will teach you the step by step process to upgrade your KidTrax Cat Quad with a 12V battery effectively.
Is It Possible to Upgrade the 12V battery for KidTrax Cat Quad?

Yes, Upgrading the 12V battery for a KidTrax Cat Quad is possible. The Toy car is also found to be compatible with the 12v battery.
However, it depends on the specific model and components. It is essential to consult the manufacturer's recommendations and specifications to ensure any upgrades are safe and compatible.
How to Upgrade 12 V battery for KidTrax Cat Quad[ Easy Step-by-Step Guide]
Here are the steps you should follow to upgrade 12v battery for KidTrax Cat Quad:
Step 1: Gather the Materials
You will need to gather the following materials before starting the upgrade process:
- A 12V battery
- Wire stripper/cutter
- Soldering iron and solder
- Heat shrink tubing
- Electrical tape
Step 2: Remove the Old Battery
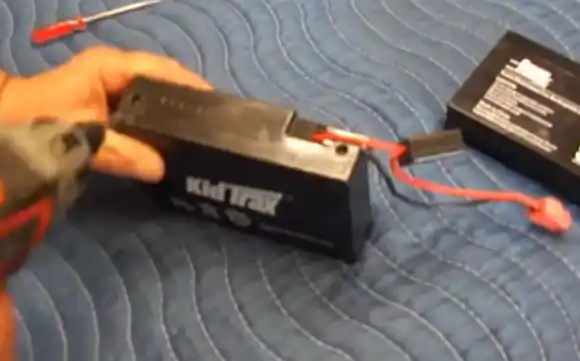
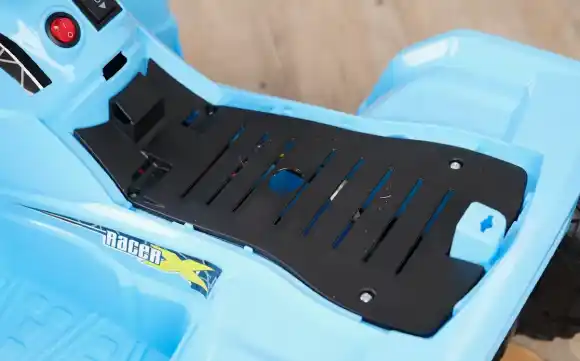
The first step to upgrading the 12v battery is removing the old one from the KidTrax Cat Quad. You will need to remove the seat to access the battery compartment. Unscrew the battery cover and carefully remove the old battery from the compartment.
Step 3: Disconnect the Old Battery

Using the wire cutter/stripper, disconnect the old battery from the wiring harness. Remember to note which wire goes where to connect the new battery correctly.
Step 4: Install the New Battery
Take the new 12V battery and connect the wiring harness. Ensure that the connections are tight and secure.
Step 5: Secure the Battery
Place the new battery in the compartment and secure it with the cover. Make sure the cover is tight and secure.
Step 6: Test the New Battery
Turn on the KidTrax Cat Quad and test the new battery. Ensure that everything is working correctly and that the battery is fully charged.
Step 7: Protect the Wiring
To protect the wiring, use the soldering iron and solder to attach heat shrink tubing to the exposed wires. Once the tubing is attached, use electrical tape to secure it.
Step 8: Reinstall the Seat

Finally, reinstall the seat and test the KidTrax Cat Quad again. Ensure the seat is tight and secure and the battery works correctly.
Conclusion
Upgrading your KidTrax Cat Quad to a 12V battery can greatly improve its performance and extend its battery life. The process is relatively easy and can be done with basic tools and skills. With the upgraded battery, your child can enjoy longer, more exciting rides with their favorite toy.
