It would be a great pleasure for your kids to have a stanced Hotwheels car. Getting proper fitment or stancing your Hotwheels car is quite challenging. However, although it looks challenging, but it isn't impossible if you know how to stance a Hotwheels car?
Firstly, arrange the tools, unpack and disassemble the Hotwheels car. Ready the car for the installation of new wheels. Once the wheels are installed, add the silencer and assemble the car. If necessary, paint the car where you see scratches on the body.
However, you need a proper guideline to perfectly stance a Hotwheels car. Stay with us here to learn the easiest way to stance the Hotwheels car.
What does it mean stancing a car?
The stance car means a Hot wheels car with low and cambered big wide wheels. Cambered means where the wheels tilted outwards at the bottom.
Stanced cars look stunning and wider than the available models. It is also called customization of the Hotwheels car to make them nice looking and suitable.
When someone stancing the Hotwheels car, then modification is made with three major parts:
- Negative camber
- Big unusual wheels, and
- Dropped suspension.
Guide on: How to stance a Hotwheels Car?
I mentioned earlier that stancing the Hotwheels car is not a challenging job if you have the right tools and technique. It may not take more than 15 to 20 minutes but ensure you have followed the right instructions.
Things You Need:
- Drill Machine
- Cutter
- Rounded tires
- Plier
- Marker
- Sand mat
- Brass tube 0.9mm
- Utility knife
- PVC plat 0.5 mm
- Glue
- Safety Gloves
- Bending tool
- Grinding plate (round)
- Custom exhaust pipe made of pen tip (use as a silencer)
- Hotwheels car
We recommend you DEWALT 20V MAX XR Drill for the toy car. It is battery-powered and simple to use for small items such as Hotwheels cars. You can buy other tools from the local hardware store.
You have multiple options to buy the Hotwheels car, don't forget to check hot Wheels 10-Pack. You will find an affordable but nice collection of cars.
5 Steps to Follow- How to Stance a Hotwheels car
Here are a few simple steps to stance the Hotwheels car. Learn and carefully follow the instructions.
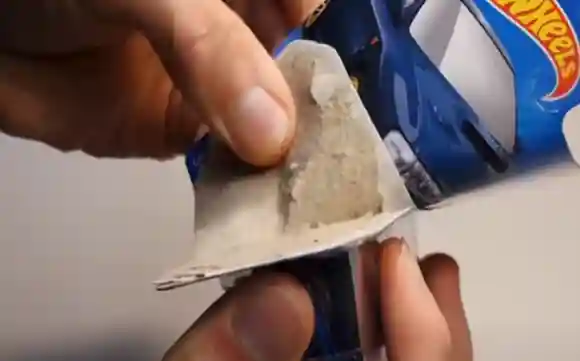
Step 1- Unpack the Hotwheels car
First, carefully unpack the Hotwheels car.
Step 2- Disassemble the car
After unpacking the Hotwheels car, place a piece of cloth over the flat surface and start dissembling the car. Carefully separate each part of the car.
Place the car upside down, as you see in the below picture. Here you will see two small bolts in the middle at each end.
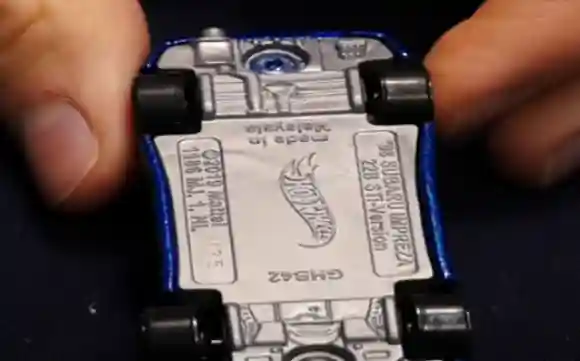
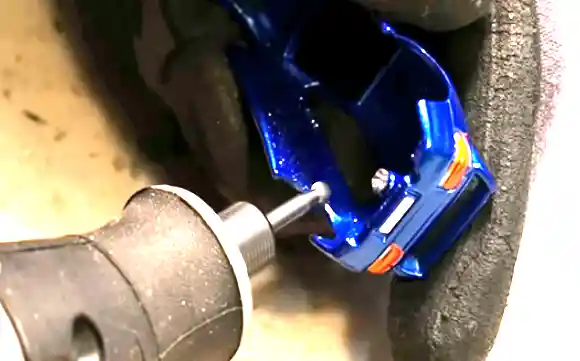
First, unscrew the bolts; it may not be possible to screw them, so you will need to use a drill machine. Take a drill machine, install the small driver and start drilling on the bolts. Unrivet the car on both sides. Once unriveted, separate the base from the upper body of the car.
Dissemble all its parts; you will need to separate three major components: base, seats, glasses, and the car's upper body.
Take a cutter and start cutting the base from the downside. You will need to cut the wheels' excel locks. Softly cut them without scratching the other surface. Once you have cut the locks, separate the wheels.
Step 3- Install the new wheels
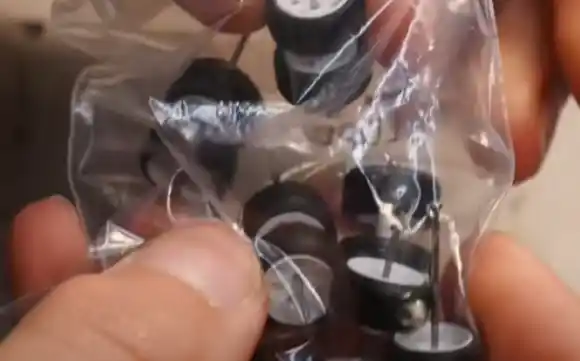
Now prepare your car to install the new wheels. Light rounded wheels are the best choice for Hotwheels cars. Unpack the wheels and set them aside. Check the wheel size with the car to ensure you have the right wheels.
Are wheels okay? If Okay, go for the following process. You will need to grind the car body from the inside. While grinding, the body keeps the outside surface protected from scratches. Grind all four sides around the wheels.
Next, check the level of the car for proper fit. Take a flat hard metal piece and place the car’s body over the base. Then place it over the metal piece to check the level.
Mark the points for the installation of new wheels on the base. Then cut the wheel's support from all four sides on the base.
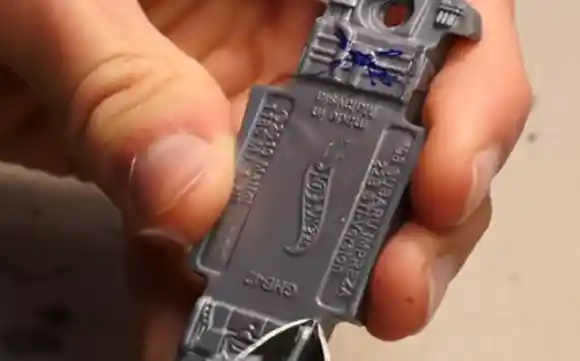
Place a sand mat over the flat surface and sand the car base from the downside on the base mat. Rub the base over the sand mat and ensure you have correctly sanded it.
Now it's time to prepare the wheels; start by cutting the excel to separate the wheels. You will need to install a new excel, so cut the old one.
Take the 0.9 mm brass tube and measure the size for wheel installation. While measuring the tube size, also mark the points.
Once measured, use a utility knife and cut the two small pieces per measurement to use as car excel. Cut four to six pieces of PVC plate for lowering the ride height adjustment.
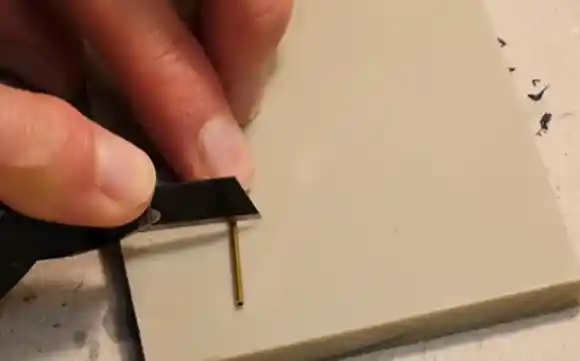
Glue the base, place the PVC plate pieces one by one, and ensure they are correctly bonded. Use pliers to place the PVC plate, glue each piece and then place another over it.
Place the excel tubes over the glued surface using pliers. Next, to add some camber, bend the metal pin using a bending tool. Bend the pin as much as possible.
But make sure it does not hurt the movement of the wheel. Test the wheel's movement on a flat surface. Take the grinding and mark the cuts on both sides of the forth and back excel tube using a round grinding plate.
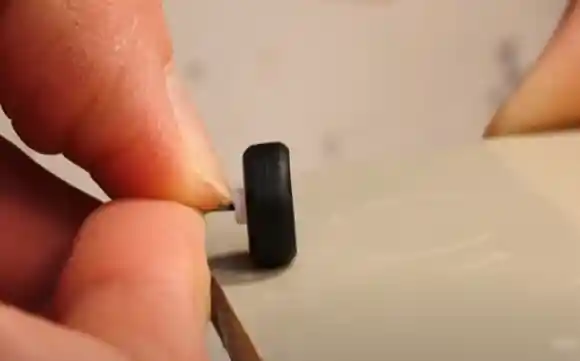
Mark the cuts on all four sides, but carefully do not mark it too wide. Apply the glue over all the cuts. Run the pin from the excel tube and make sure you have correctly adjusted the wheels from all sides.
Test the wheels rolling; it should be smooth. Place the body over the base and roll it over the flat surface. Is it fine? Okay, it is good. Prepare the seat portion, but cut the supports from all four sides to ensure a proper ride height.
Step 4- Add the Silencer
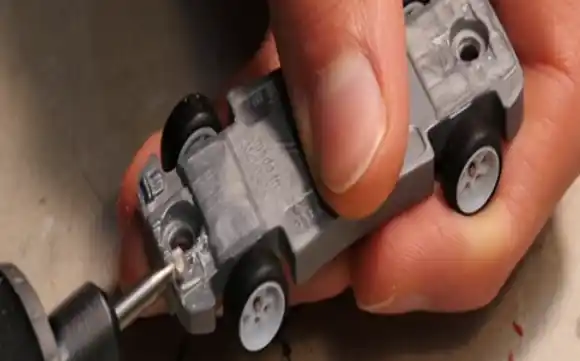
Add some accessories to make your cars look more appealing. It would be great if you add the silencer in your Hotwheels car. First, mark and scratch some surfaces behind to give place for silencer adjustment.
Then drill a hole in the base with a hand drill. Try to dig the hole at 45 degrees angle. Take a pin tip-made exhaust pipe to use as a silencer and bend it as shown in the picture. Run it through the hole and make sure it is properly adjusted.
Step 5- Assemble the Hotwheels car
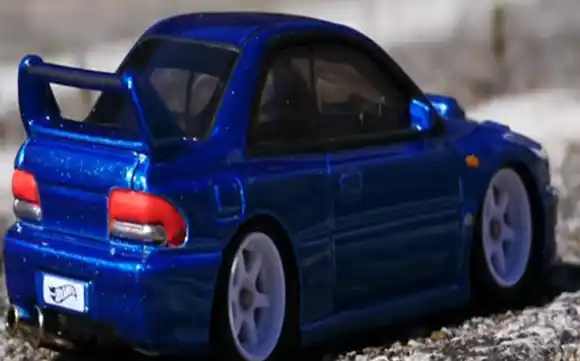
Assemble the car, add the glass assembly, then the seat portion, and finally install the base. Also, mark the holes and screw the bolts to fit the base properly. Test the rolling; your stanced Hotwheels car is ready for the drive.
Helpful Tips:
- Ensure your safety while using a grinder or cutter; do not forget to wear gloves.
- If you see scratches on the outside of the car surface, sand it and paint it.
Is stancing your Hotwheels car bad for the car?
No, it is not; it can be a nice experiment, but only if you follow the right way to complete the job. Otherwise, you may damage your Hotwheels car. So, do not try until you are confident you can do this.
What type of tires should I use for stancing the Hotwheels?
Round and wider wheels prove as the best tires for Hotwheels stancing. They give more grips while riding and also make your car look fantastic.
What paint is suitable for painting Hotwheels?
If you want to paint the Hotwheels, never use paint other than acrylic paint.
Final Verdict
Stancing improves your car look and also makes it smooth riding. You can modify the car as you like. But before stancing, make sure you have learned the technique. If you are confident, you can stance the Hotwheels but ensure safe handling of the job.
