Ford Ranger Ride-on Toy Power Wheels is a perfect toy to ride for the kids. You can get this toy for your kids above three and can provide the opportunity to enjoy it.
While you buy that toy, you will get body assembly and disassemble parts in the box. No worry assembling and unboxing Ford Ranger Ride Toy is very easy; you can quickly assemble it in a couple of minutes after reading our below guidelines.
Step by Step Guide to Unbox and Assemble for Ranger Ride-on Toy
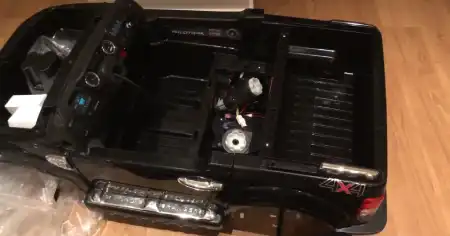
When you buy that vehicle, you will get steering, wheels, body assembly, headlights, nuts, bolts, and other small parts of the vehicle that you will need to assemble after unboxing.
Step One
Lay down all the parts separately on the table or a flat floor. First of all, take the body and lay the body evenly on one side.
When you have laid the vehicle on one side, then first start with fitting its wheels; you will get four wheels, two bigger wheels for the backside, and two smaller wheels for the front side of the riding toy.
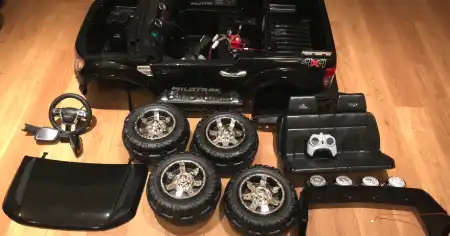
Start with installing the back wheel; first, insert the wheel assembly to connect it with the motor.
No need to worry; you will find a place for installation; push that, and it will appropriately be fixed without much effort. After that, add the first backside wheel and then screw it with the available nuts for the wheel.
No need to use any equipment because you can screw it with your fingers. Once you have done, add an Alloy rim to cover the wheel and give a good look to your wheel. Now take the drill machine and dig a hole, and screw with a nut for fixation.
Next, come to the front wheel, add the wheel and screw it with a nut through fingers, then add alloy rim and at the end dig a hole with a drill machine and screw it properly.
Now turn the Ford Range rider toy side and repeat the same process for the other side's wheels. There is no change, so I do not think to mention separate instructions here.
Step Two
Now turn the vehicle right and start assembling other parts of the vehicle. Now it’s time to add the dashboard mirror and bonnet of the vehicle. You will see the place for the installation of the dashboard mirror.
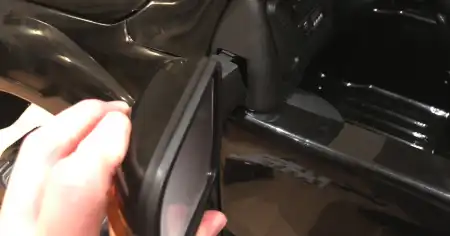
Unpack the mirror and locate the position and fix it correctly on the place. To make it firm, dig a hole with a drill machine on the marked points and screw with nut and bolt.
Then you need to add its bonnet; for the bonnet, you also need to mark two holes on each side in the vehicle body in the marked position.
Once you have to dig holes, add both sides’ rods to the holes and fix the bonnet. To make your bonnet firm, dig a hole in the center and screw it properly.
Step Three
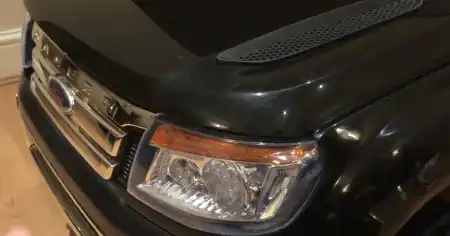
Now come to the backside and take the headlights assembly to add the back hood for support.
It is relatively more straightforward because you will find a place to fit that back support.
Just unpack it and fix it at the proper place. It also contains the lights, so never forget to wire and connect it with the battery source points.
Step Four
Wire the car ignition system by following the manual; you need to connect grips by analyzing their colors. Connect red grips with red and black with black for proper supply in all vehicle units in all bodies and areas where it requires.
Step Five
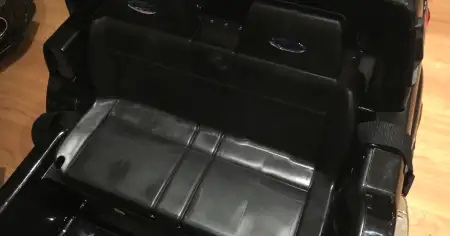
Now add the interior seats for the driver. No worries, it also just needs to be installed at the available place. You push it down, and it will automatically adjust at its place. Check that seats are firmly established, and there is no loose portion.
Step Six
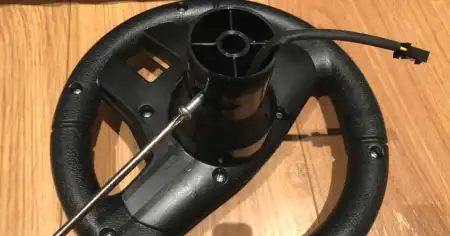
Now you will need to connect the steering of your Ford Ranger. It needs to communicate with the power wheels supply. So first, connect its grip with the ignition system by following the instruction manual.
Once you have connected, find the rod to insert the steering wheel and install it by pushing it downward. After it installs at the required place, check the movement of your steering that should be free. Also, mark a hole and with a drill dig a hole and screw it with nuts and bolts.
Step Seven
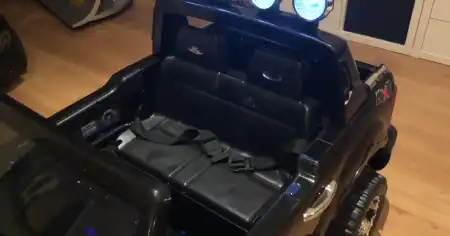
Your vehicle is ready; test and add some accessories like radio or bags or baskets that you think better. Take its trial one or two times and ensure everything is proper. Now it is ready for the ride for your kids.
Final Thoughts
Ford Ranger Ride-on Toy is an excellent rider toy for kids. It seems like a complex vehicle, but you can even unbox and assemble it yourself at home. We have also guided you with complete detail. You can efficiently complete that job in 5 to 10 minutes with ease.
