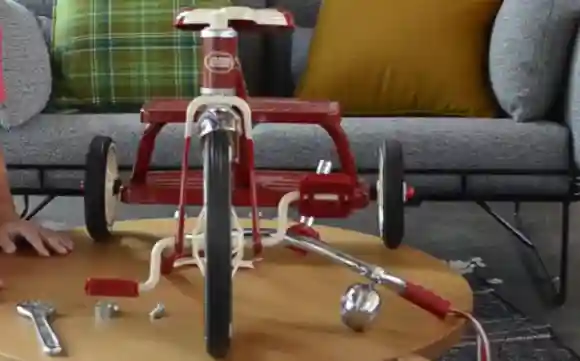
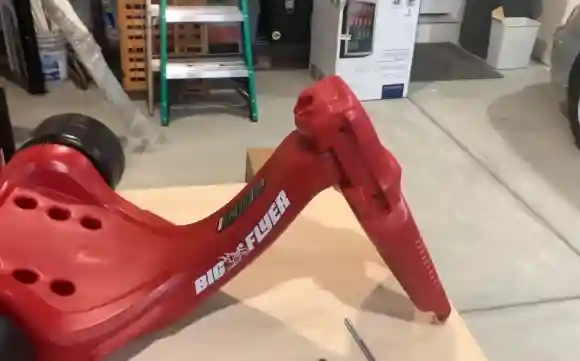
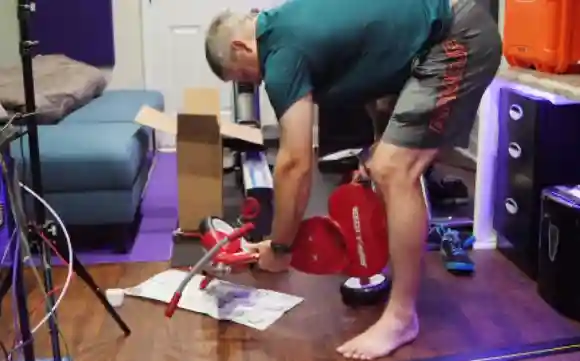
Red tricycles are a classic childhood toy that sparks joy and imagination. It can be the best gift for your kids. Making a red tricycle can be an exciting and rewarding experience. Do you know “how to make a red tricycle,” though?
First, ensure you have all the essential parts, and then read the instructions carefully. Start to assemble the front frame, then insert the axle, hammer the end caps, and attach the handlebars, seat, and backrest. Finally, check for stability and safety. Ensure all screws and bolts are tightened correctly.
Stay here and learn how I make a red tricycle. You will be taught a step-by-step guide to making a red tricycle. Let's read and explore.
Possible Ways To Make a Red Tricycle [Easy Guide]
![Possible Ways To Make a Red Tricycle Possible Ways To Make a Red Tricycle [Easy Guide]](https://www.mytinyrider.com/wp-content/uploads/2023/07/Possible-Ways-To-Make-a-Red-Tricycle.webp)
When it comes to making a red tricycle, you can assemble it by following the steps below. Read all steps carefully to ensure a smooth assembly and avoid frustration.
Things You Need to Make a Red Tricycle
You may find many parts in the pack of a red tricycle. But Here I have listed the few essential parts that must be in your red tricycle package. When you open the box, you must check for these components to make your assembly process smooth.
- Frame
- Wheels
- Tires
- Axles
- Handlebar
- Seat
- Pedals
- Chain
- Brakes
Step 1: Check All Parts

Before starting the assembly, ensure you have all the essential parts to make the red tricycle. It will help you avoid any delays or frustration during the assembly process.
Check the instructions and the parts list to ensure all the components are present. If any part is missing, contact the manufacturer or retailer to obtain the missing piece.
Step 2: Read and Follow the Instructions
You have to read the instructions provided with the tricycle for the smooth completion of the task. It will give you a complete understanding of the process and help you avoid any mistakes or errors.
Carefully follow the step-by-step instructions to ensure the red tricycle is assembled correctly. If you have any doubts about any step, seek help or advice from someone with experience with tricycle assembly.
Step 3: Assemble the Front Frame

The front frame is one of the most critical components of the tricycle. It is essential to correctly attach the front frame to ensure the tricycle is stable and safe.
Align the two parts of the front frame and screw them together using the provided screws, washer, and bolt.
Use a wrench to tighten the bolt properly to ensure it is secure. Ensure the front frame is straight and level before proceeding to the next step.
Step 4: Insert the Axle
The axle is another critical tricycle component that must be assembled correctly. Insert the axle through the front frame and attach the wheels on both ends of the axle.
Ensure that the wheels are perfectly aligned and spin freely without any resistance. Tighten the nuts on both ends of the axle using a wrench to ensure they are secure.
Recheck the alignment of the wheels before proceeding to the next step. Once you have done this, you will have assembled the basic structure of the red tricycle.
Step 5: Hammer the End Caps
After assembling the wheels, the next step is to attach the end caps. The end caps are essential because they keep the wheels in place and prevent them from falling off.
To secure the end caps, use the provided washers and a hammer. First, place the washer over the end of the wheel axle, then put the end cap on top of the washer. Ensure the end cap is aligned with the wheel and gently hammer it to secure it.
Repeat this process for the other wheel, ensuring both end caps are tight and adequately attached to the wheels. It is essential to be gentle with the hammer to avoid damaging the end caps or wheels.
Step 6: Attach Handlebars
Next, you will need to attach the handlebars. Handlebars provide steering control for smooth riding. You need to screw the handlebars into the front frame to attach them.
Start by inserting the handlebar stem into the front frame and aligning it with the pre-drilled holes. Then, use the provided screws to secure the handlebars in place.
Make sure to tighten the screws firmly but not too tight to avoid damaging the handlebars or frame. Once the handlebars are attached, check that they are straight and aligned correctly with the front wheel.
Step 7: Attach Seat and Backrest

The seat and backrest ensure comfort and support for the rider. To attach them, use the provided screws and align them with the pre-drilled holes. Look for the pre-drilled holes on the back frame of the tricycle.
Start by attaching the backrest, aligning it with the holes, and using the screws to secure it. Then, attach the seat, ensure it is aligned with the backrest, and use the provided screws to connect it.
Make sure to tighten the screws firmly but not too tight. It may damage the seat or backrest. Once the seat and backrest are attached, ensure they are stable and secure.
Step 8: Check for Stability and Safety
After assembling the tricycle, it is essential to check for stability and safety. Only a stable red tricycle can ensure a safe ride.
So double-check that all screws and bolts are tightened correctly and the tricycle is stable and safe for use. Test the tricycle by sitting on it and pedaling around a safe, flat area.
Ensure the handlebars are straight and aligned with the front wheel and the seat and backrest are comfortable and secure. If any parts feel loose or unstable, disassemble and reattach them to ensure the tricycle is safe to use.
FAQs
What materials are commonly used to make a red tricycle?
The major parts of a tricycle are the frame, wheels, pedals, seat, and handlebars. Different materials are used to make these parts. Usually, frames are made of aluminum, steel, or sometimes plastic. Rubber is used for wheels and tires, while the pedals and handlebars are metal or plastic. In seats, plastic or cushioning is used.
How long does it take to make a tricycle?
There is no exact time to make a tricycle. It can vary depending on several factors, such as the complexity of the design, materials used, and production methods. Usually, it may take anywhere from a few hours to several days to make a tricycle. If you have some high-end models, it may take weeks to complete.
Can I customize the design of my red tricycle?
Yes, you can customize the design of your red tricycle. There are many ways to do this, depending on your preferences and skill level. Here are some ideas.
- Paint different colors or add designs or patterns to make it unique
- Add accessories such as streamers, stickers, or basket
- You can add custom upholstery such as seat or handlebars
- Write your or your kid's name on the red tricycle to make it personalize
Do I need any special tools to assemble a red tricycle?

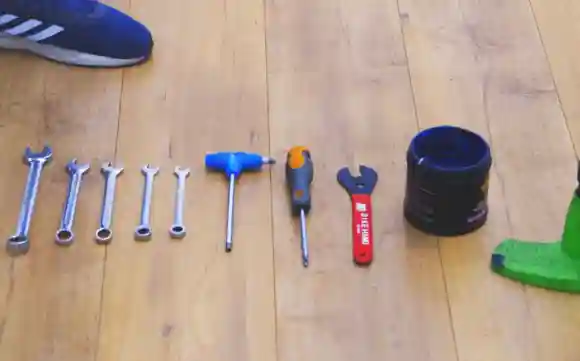
You may need some special tools depending on the make and model of your red tricycle. However, some basic tools that you may need include:
- Wrench Set
- Screwdrivers
- Pliers
- Hammer
- Adjustable wrench
- Allen wrench set
- Grease
- Bike stand or repair stand
- Bike pump
- Torque wrench
Are red tricycles suitable for all ages?
No, it is not recommended for all ages. Generally, tricycles are designed for children between 2 to 5 years of age. But you may find some special tricycles that may be suitable for toddlers or even adults.
How safe are red tricycles?
Red tricycles are considered safe if used under proper supervision. However, before handing it to your children, ensure it is of the right size and assembled correctly. Never forget to equip your kids with helmets and ensure they are riding in a safe environment.
Can I find replacement parts for my red tricycle?
Yes, you can find replacement parts for red tricycles. You can buy them from local bike shops or from online stores. Some common replacement parts include wheels, pedals, seats, and handlebars. While getting the replacement, ensure you know about the model number of the tricycle.
Conclusion
Making a red tricycle is a fun and rewarding project that anyone can take on. By following the steps I have outlined, you can make a unique and functional tricycle that will be sure to turn heads. So, gather the required materials, roll up your sleeves, and work on it.
